Crushing The Squat
In the world of muscle and strength, the squat is highly regarded as the king of all exercises. Rightfully so, there's nothing like squatting down and standing back up while being crushed under a heavy bar. Practice these steps and crush this exercise instead.
- Set the bar on the rack at roughly chest level. If the squat rack at your gym has big increments for its pins, set the bar lower than what you'd initially expect you'd need. You wouldn't want to tiptoe your way back to the rack after a set.
- Grasp the bar with as narrow a grip as your shoulder flexibility will allow. The narrower, the better, as you can engage your upper back muscles more with a narrower grip. Use a thumbless grip to prevent your wrists from aching.
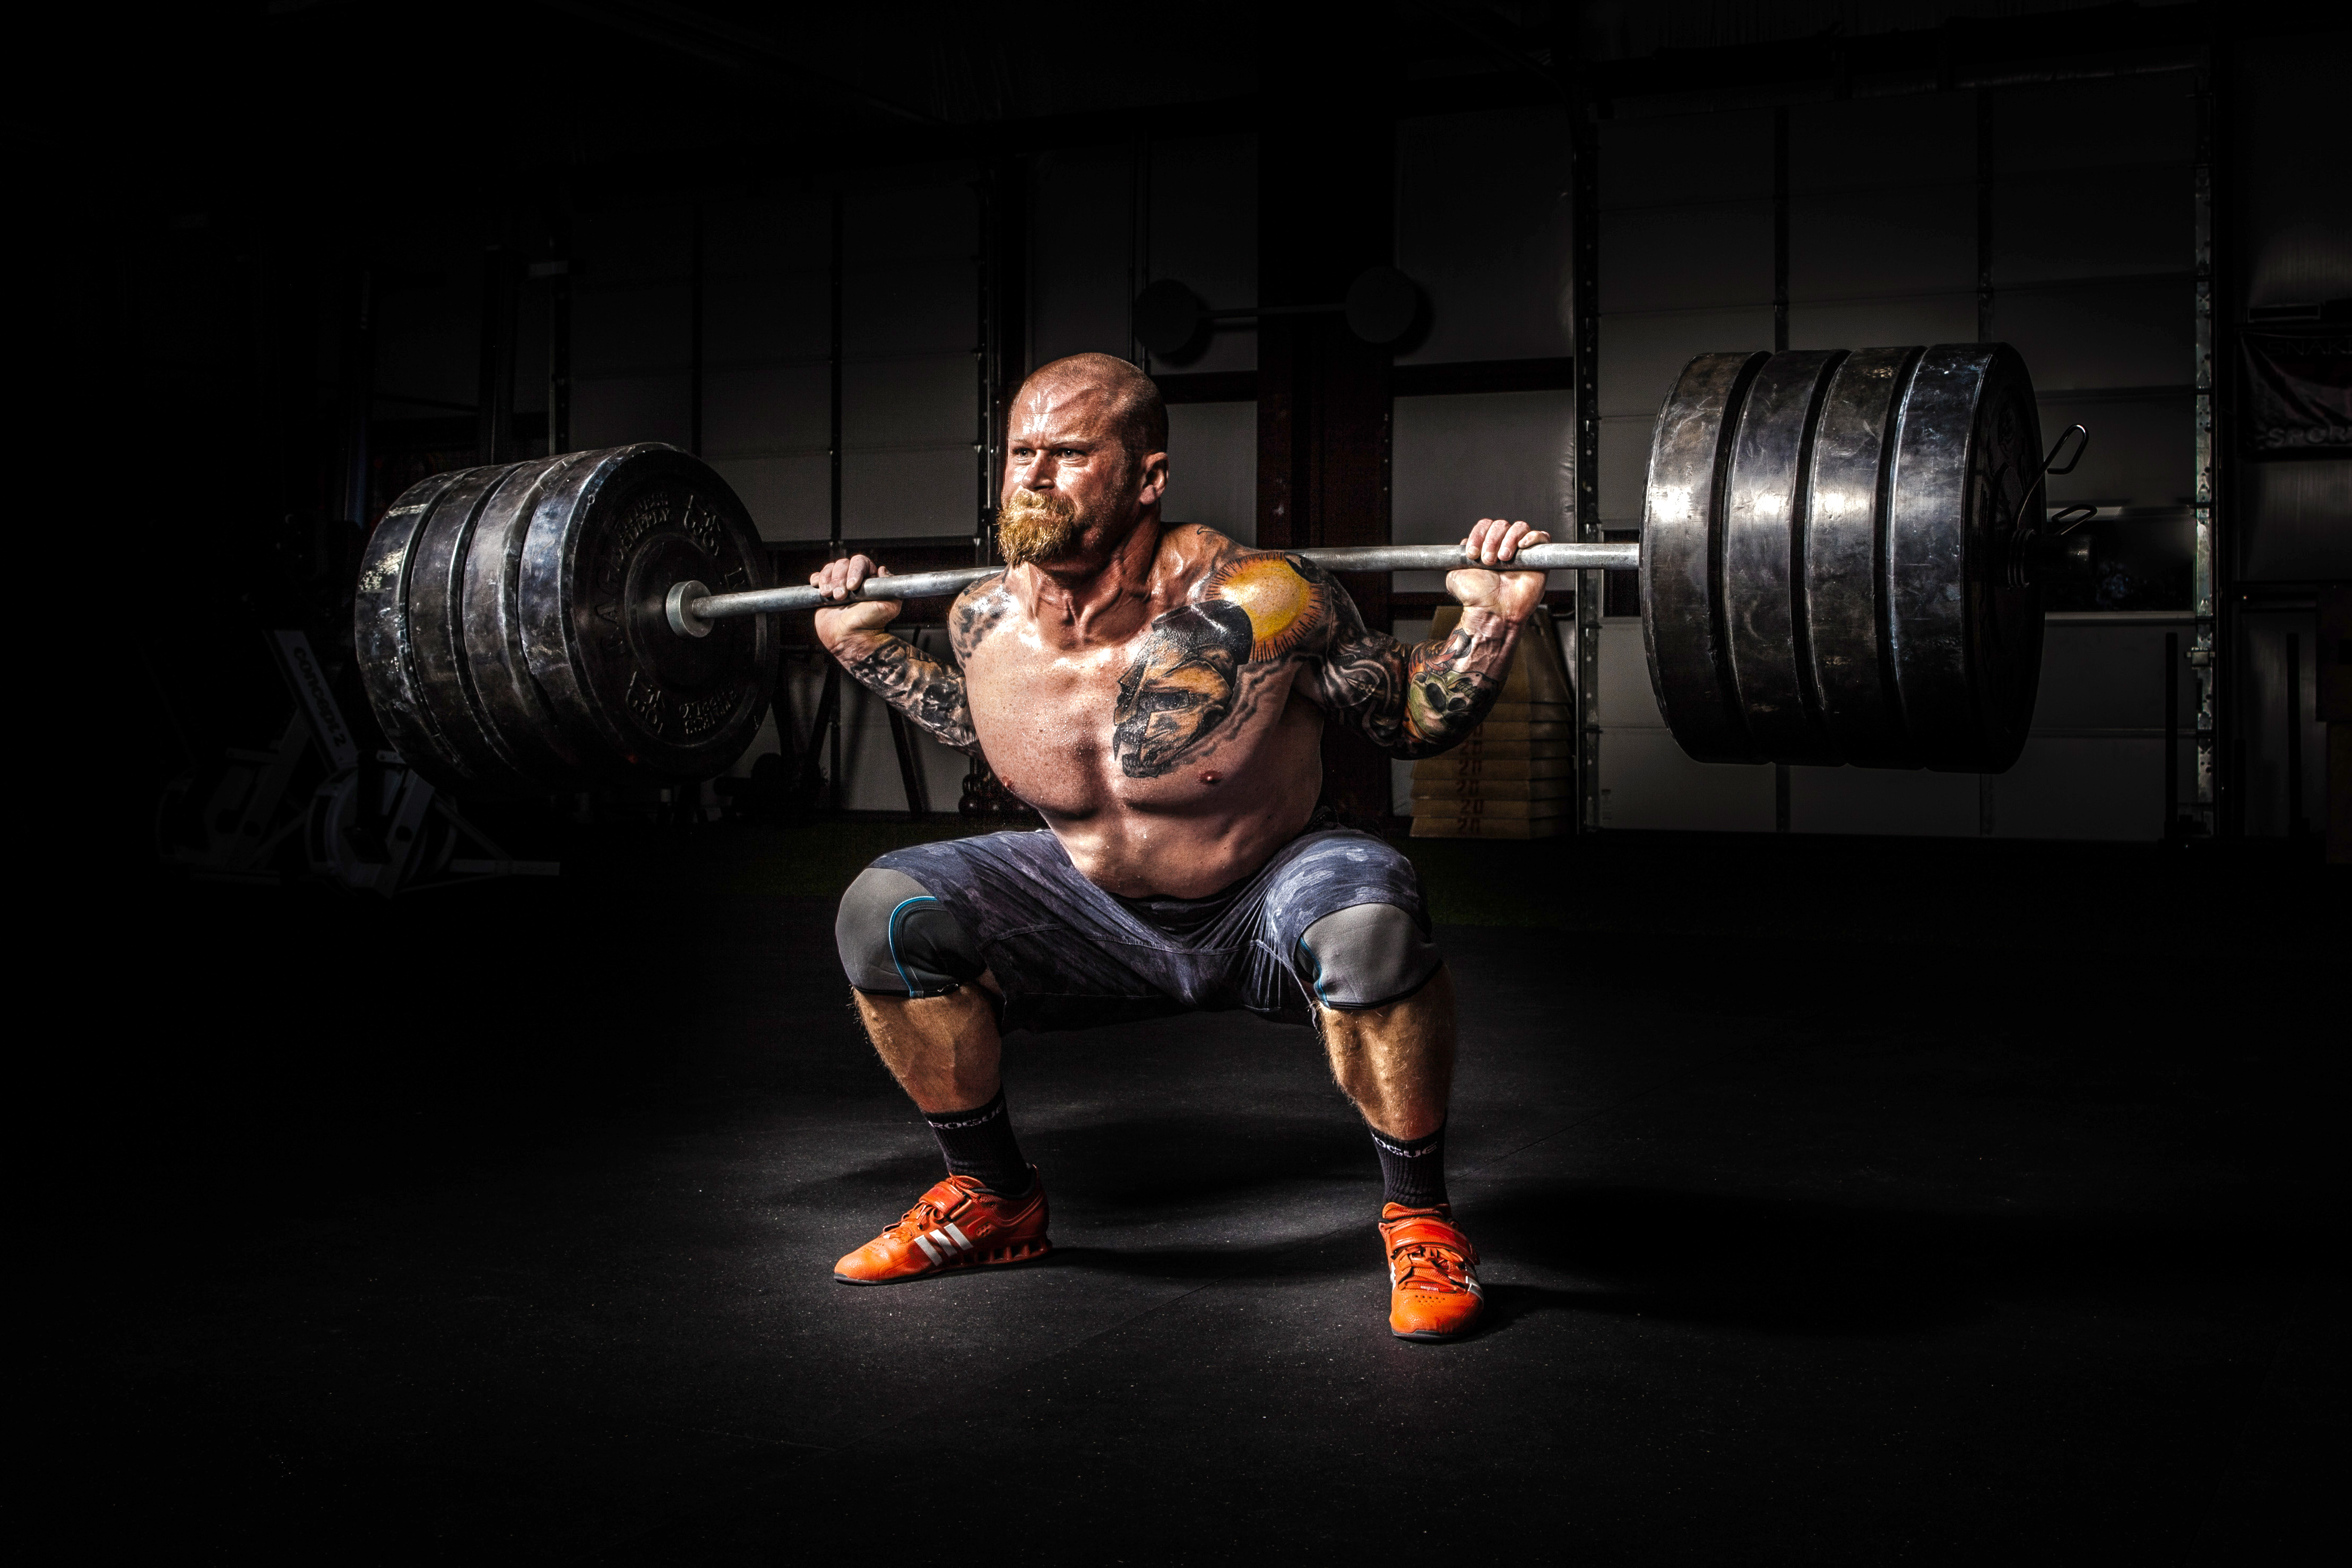
- Go under the bar placing it at the base of your traps. Lift your elbows back and up to secure the bar at the shelf of your traps with your hands. Align your mid-feet to be directly under the bar. Space your feet slightly wider than shoulder width apart with your toes pointing outwards at about a 20-30 degree angle.
- Suck air into your stomach, push your abdominal wall out, brace your midsection by holding your breath, tighten up your entire body, and lift the bar from the rack by standing up.
- Keeping your entire body tight, walk out by taking a step back on each foot. Once away from the rack, recheck that your feet are slightly wider than shoulder width apart with your toes pointing out at a 20-30 degree angle.
- When you're ready to descend, fill up your midsection with air, brace it by holding your breath, and tighten your entire body. Simultaneously push your hips back while pushing your knees out to track where your toes are pointing to initiate your descent.
- Continue descending by bringing your hips back and down, like reaching for an imaginary chair behind you. Stop your descent once your hip joint is lower than your knee joint. This is known as parallel.
- Once parallel is reached, ascend by thinking of driving your hips up towards the ceiling. The proper way to enforce this cue is to have your coach press down on your tailbone with his hand. You will push his hand upwards with your hips on your ascent.
- Squeeze your glutes forcefully all the way to lock out. Lock out = shoulders, hips, and knees are vertically aligned.
- Once done, maintain whole body tightness, walk to the rack until the bar hits the uprights, then set it down on the rack, looking straight ahead at all times.
Tips and pointers
- When walking the bar out, take as few steps as possible to get setup properly. The quicker you're setup, the more energy you'll have for the set.
- Only breathe while locked out at the top and only do so through a braced mid section. You should be holding your breath by the time you start your descent until the next lockout.
- Knees should ALWAYS be tracking your toes that are pointing outwards. Not doing so will halt your squat before you get to parallel.
- Full squats done right will never hurt your knees. Partial squats will. Have a knowledgeable coach watch your squat depth at all times until you've got it memorized. Even then, have your depth checked occasionally.
- Don't go any deeper than parallel, doing so will round your lower back compromising the integrity of your spine.
- Maintain a neutral spine throughout the squat. Stare at a point on the floor about 6ft away from you, keep your chest out, engage your lats, and be conscious of having a STRAIGHT back. NOT vertical, NOT arched, just STRAIGHT.
- DO NOT look up on your ascent. This is a good way to hurt your neck. Just keep on staring at that spot on the floor.
- Drive your traps into the bar on your way up.
- DO NOT strain your neck by looking sideways to find the hooks of the rack with a heavy bar on your shoulders.